Pin gauges are suitable for measuring apertures, hole spacing, and internal thread diameters in mechanical and electronic processing, and are particularly suitable for measuring bending groove widths and mold dimensions. When we need to use pin gauges, how should we operate them?
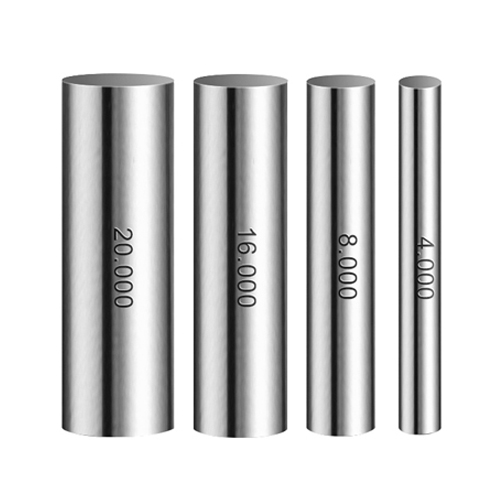
Step 1: Take out the pin gauge and check whether the pin gauge box is intact and whether the number of pin gauges is complete.
Step 2: Randomly select a number of pin gauges to check whether there are rust and stains on the outer surface of the pin gauge. If there are rust and stains, wipe them clean before use. To remove rust, you need to use a special rust remover, and do not force it to be wiped clean.
Step 3: Find the object to be measured, visually measure the size of the aperture to be measured, and select the closest one from the pin gauge box. If it is inaccurate, try it several times.
Step 4: After selecting the pin gauge, put the pin gauge vertically into the hole to be measured. Let the pin gauge fall down by gravity. If it can enter the hole, it means that there is still room for this hole, and we can choose a larger pin gauge.
Step 5. Continue from the previous step. This time we can choose a slightly larger pin gauge. Use the same method to insert the pin gauge into the hole. If there is still margin, we can repeat this operation step and choose a pin gauge of a larger size.
Step 6. When the pin gauge we choose can no longer fall freely, it means that the hole diameter is smaller than the pin gauge specification. The hole diameter size can be recorded between insertable and inaccessible, with a tolerance of ±0.002mm.
Step 7. After the measurement is completed, gently wipe the pin gauge and apply oil to prevent rust. Put the pin gauge in the box in place, lock the box, and place it in a cool and dry place.